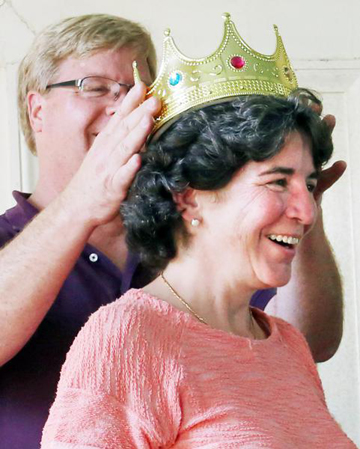
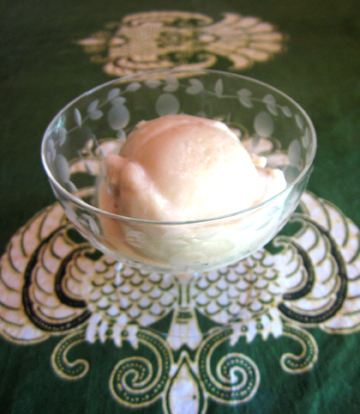
Making All-Hawley Frozen Yogurt makes me happy. (So does wearing big hats.)
I like buying and eating locally. The food one gets is fresher that way. I’m not an obsessive locavore. Nevertheless, I have dreamed in my modest way of creating a recipe that uses ONLY ingredients native to my small hometown of Hawley, Massachusetts.
Here is that recipe!
One COULD argue that two ingredients do not constitute a recipe. The two ingredients here work so perfectly together, however, that I’m going to call them a recipe.
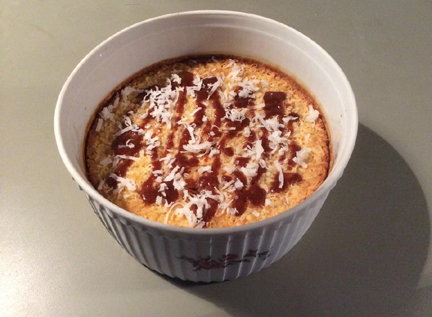
The dish is maple frozen yogurt. I made it using Sidehill Farm yogurt. Sidehill moved to Hawley a couple of years ago and sells lovely raw milk and other products as well as the yogurt.
The farm is worth a visit if you’re in our area. I know Carnation used to bill its products as “the milk from contented cows.” The Sidehill cows are DEFINITELY contented.
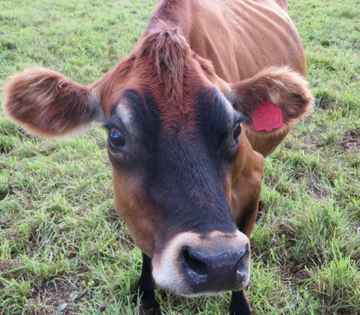
Courtesy of Sidehill Farm
I combined the yogurt with maple syrup from my neighbors at Chickley Alp Farm. How much more local and delicious could food be?
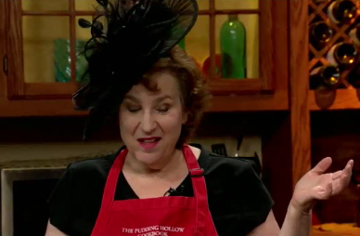
This dessert was a huge hit when I visited Mass Appeal this week. Unfortunately, the video to which I link below doesn’t show the best part of the show: the look of rapture on co-host Ashley Kohl’s face when she tasted the yogurt. (No, I’m not exaggerating. “Rapture” is the mot juste.) That look made me very happy.
The yogurt also made me happy. Commercial frozen yogurt doesn’t tend to taste very yogurt-y. This version had lots of yogurt tang, combined with maple sweetness. My “recipe” was a match made in heaven.
You may ask why I used whole-milk yogurt instead of low fat. I had never made frozen yogurt before, so I consulted several cookbooks and websites. Apparently, low-fat yogurt becomes very hard very quickly if you pop leftovers in the freezer.
If you put this version in the freezer for a few hours, you will find it lovely and creamy still. (I haven’t tried freezing it for longer than a few hours; it’s too popular in my house.)
And let’s face it: frozen whole-milk yogurt is still healthier than ice cream!
Just for fun after the video link to the yogurt segment I have embedded the video for the other recipe we made on the air this week, cowboy caviar. I have featured the caviar recipe, from my wonderful Texan friend Teri Tynes, previously on this blog, and it’s remarkably tasty.
But first, the yogurt recipe:
Ingredients:
1 quart plain Sidehill Farm Yogurt
3/4 cup Chickley Alp Maple Syrup (darkest version preferred)
Instructions:
Whisk together the yogurt and maple syrup. Place them in an ice-cream maker and freeze until ready (about half an hour, in my experience).
That’s it! Serves 8.
Now, for the yogurt video:
And here is the cowboy caviar.