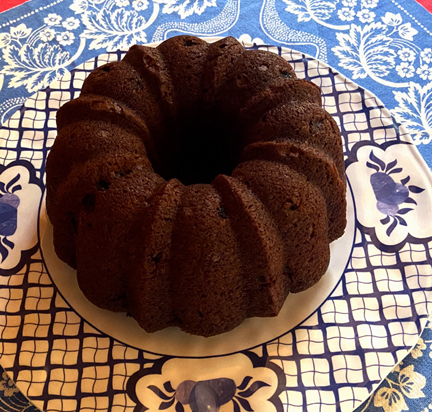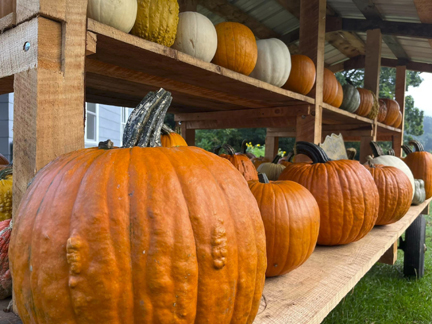
Courtesy of Hicks Family Farm
Halloween may be my favorite holiday. It’s certainly the holiday for which I have the most decorations. My Halloween bins are even more numerous than my Christmas bins.
Some of this has to do with Halloween’s traditional spookiness, which gives the day (and night) a little excitement. The eve of All Saint’s Day, it’s supposed to be a time at which the dead can visit the world once more.
Our tradition of dressing up for the day originated from the thought that dead people and evil spirits would be frightened by our costumes or would fail to recognize us.
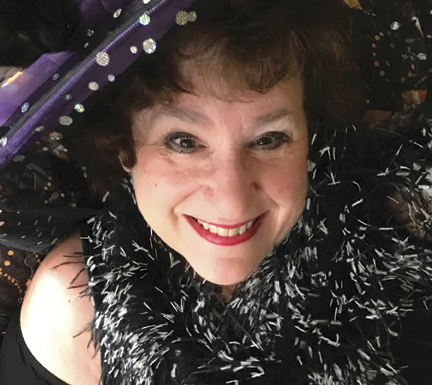
My usual witch attire, which involves a hat with a boatload of sequins and a feather boa, wouldn’t fool any ghost or spirit, but I still enjoy putting it on at this time of year. It makes me feel glamorous and just a tad wicked.
Mostly, I love Halloween because the orange lights, illuminated ceramic houses, and jack-o-lanterns around my house represent my way of raging against the dying of the light. By the time we get to the end of October, it’s impossible to delude ourselves that the days are not becoming shorter and colder.
Filling the house with decorations and dressing up help us insulate ourselves against the lowering temperatures and sun.
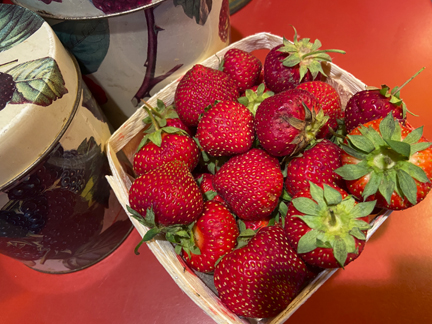
Pumpkins are associated with Halloween for a number of reasons. My favorite one is seasonality. It takes a long time for pumpkins to mature so they tend to ripen at this time of year. Their bright orange hue also mimics a fire and cheers people up.
These gourds are grounded in our continent and its history. Pumpkins have been grown in North America for 9000 years, according to the University of California.
Pumpkins are popular in my immediate neighborhood—and not just with humans.
My neighbor Ruth festoons her patio with them. Ruth is here only on weekends. On weekdays I frequently call her and say “Guess who’s coming to dinner!” as I spy a family of deer lounging on her patio and snacking on her decorations.
I wish I had a picture of them to show off here; they are very sweet and grateful looking. Unfortunately, if I get close enough to the deer to snap a photo, my dog Cocoa barks like crazy, and they run away. (The deer, like ghosts and spirits, aren’t scared of me, but Cocoa gives them pause.)
I must admit that I am still learning what to do with pumpkin beyond pie, bread, and soup. I was hoping to invent some kind of chewy pumpkin blondie to share with readers.
To date I haven’t quite figured out how to compensate for the wetness of the pumpkin, however. I recently learned that pumpkins are 92 percent water. Since baking is basically chemistry (never my best subject in school), one must compensate for that extra liquid somehow.
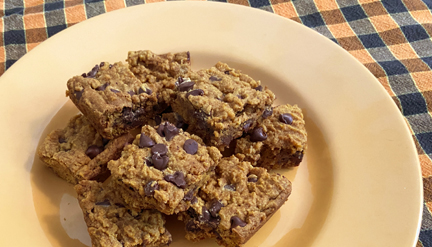
My initial blondie experiment literally dampened my enthusiasm for this project. So I cheated. What appears below is a recipe lightly adapted from The New York Times for pumpkin blondies with chocolate chips.
I took them to an event at my church, where people enjoyed the combination of pumpkin and chocolate. Another time I think I might amp up the spices and try substituting toasted pecans for the chocolate chips.
The thing that makes this recipe special is browning the butter. This technique for melting butter entails cooking the butter past the melting point. You need to stir constantly to keep the butter solids from burning; ideally, you just toast them lightly. They are ready when the butter foams and develops a nutty aroma.
In the past, I saw brown butter only in recipes for elegant sauces, but cooks around the country are increasingly using it in baked goods that require melted butter. The technique gives the treats’ flavor extra dimension.
Having used it in these bars, I’m ready to try browning the butter in my standard, non-pumpkin butterscotch brownies. Those are one of my favorite desserts to bake and share. I have a feeling they’ll be even more delectable with brown butter. Expect to see them in a future column.
Before I go, I’d love to inform anyone in Massachusetts that I’ll be helping to celebrate Cider Days here in Franklin County on November 4-5 at Headwater Cider right here in Hawley. I THINK the hours are 11 a.m. to 4 p.m. each day. I’ll update this information as I learn more.
Meanwhile, happy Halloween from a not very scary witch!
Pumpkin Chocolate-Chip Bars
Ingredients:
3/4 cup (1-1/2 sticks) sweet butter
1-3/4 cups packed brown sugar
3/4 cup pumpkin puree
1 tablespoon vanilla
1 teaspoon baking powder
1 teaspoon baking soda
1 teaspoon salt
1 teaspoon cinnamon
1/4 teaspoon ground cloves
1/4 teaspoon nutmeg
1/4 teaspoon ginger
2-1/2 cups flour
1-1/2 cups chocolate chips
Instructions:
In a saucepan, melt the butter over medium heat. Continue to cook, stirring constantly, until the butter foams and darkens to a light amber color and begins to smell amazing.
Remove the pan from the heat, and continue stirring for a couple of minutes to keep the butter from burning. (It’s okay to have a tiny bit of black at the bottom of the pan, but avoid blackening as much as possible.) Set the butter aside, and let it cool for 20 minutes.
Preheat the oven to 325 degrees. Line a 9-by-13-inch pan with foil (nonstick is best), and grease the foil with a neutral oil or shortening.
When the butter has cooled, stir in the brown sugar, the pumpkin, and the vanilla. Add the baking powder, the baking soda, the salt, and the spices; then stir in the flour. Make sure the flour is mixed in, but try not to overmix the dough.
Add 1-1/4 cups of the chocolate chips, again stirring them in gently but thoroughly.
Transfer the dough to the prepared pan, and smooth it out as well as you can with a knife or spatula. (You may have to grease the knife or spatula.) It will be messy; be patient. Sprinkle the remaining chocolate chips on top, pressing them into the dough lightly.
Bake the dough until the top turns light brown and a toothpick inserted into the middle comes out with only a few crumbs, about 30 to 40 minutes.
Let the bars cool in the pan on a rack for at least an hour. Use the foil to pull the whole thing out of the pan, remove the foil gently, and cut the baked dough into 24 bars.