I tend to celebrate National Strawberry-Rhubarb Pie Day, which falls each year on June 9, because I love food holidays.
I also celebrate this day because I adore dishes that pair sweet and tart. Strawberries in full season generally need no sugar. I can’t say the same of rhubarb. The two ingredients thus complement each other to some extent.
As food writer Judith Fertig has written, “Bitter rhubarb [makes] sunny-day strawberry face the realities of life—and taste all the better for it.”
The strawberry-rhubarb combination also works because it is truly multicultural and international.
Actually a vegetable rather than a fruit, rhubarb comes from a variety of countries but is perhaps best known as a Chinese import. It was originally used for medicinal purposes but eventually evolved into a food, helped out in large part by the widespread availability of sugar beginning in the 19th century.
Ornamental strawberry plants have been found worldwide for millennia. According to the University of Vermont Agricultural Extension Service, the varieties of this berry that we consume came from the Americas, where indigenous peoples ate and cooked with strawberries long before Europeans arrived in the New World.
Eventually, both the North American Virginia strawberry and the Chilean strawberry were brought to Europe. There the French and English bred them together to resemble what we think of as a strawberry today.
Combining strawberries and rhubarb, then, is a truly global enterprise … not unlike the United States.
Despite these positive traits, I don’t find Strawberry-Rhubarb Pie Day a perfect holiday.
For one thing, it was obviously invented by someone in New Jersey or Connecticut, where strawberries come early in June.
We are close to strawberry season here in western Massachusetts. Nevertheless, even in this very warm spring we haven’t quite reached that season. At any rate, we haven’t reached it in my hilly hometown of Hawley, where most seasons arrive late.
I am also a little suspicious of this holiday because in my opinion the combination of strawberries and rhubarb is overblown.
All too frequently, when I tell people that I adore rhubarb, they respond by telling me that they love strawberry-rhubarb pie but don’t eat rhubarb in any other form.
This is a tragic response. Rhubarb is a complex food. It is adaptable to many uses, both sweet and savory. To see it only as a complement to strawberries—much as I love strawberries—doesn’t do it justice.
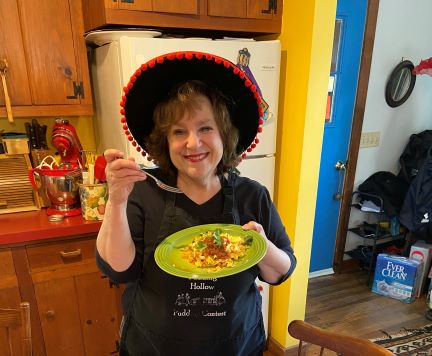
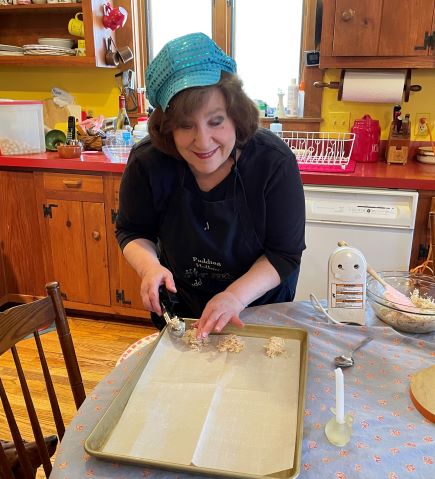
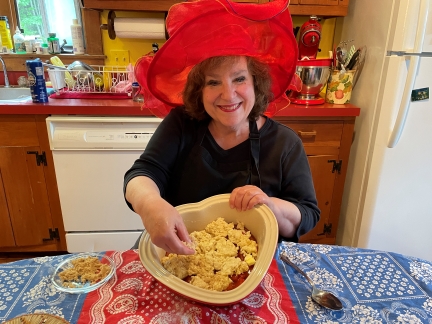
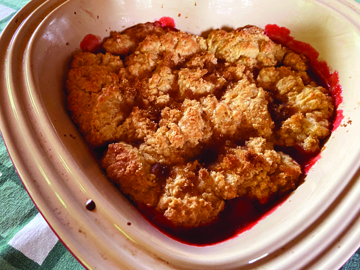
This year for Strawberry-Rhubarb Pie Day, I’m actually preparing a relative of a pie rather than an actual pie: a strawberry-rhubarb cobbler. According to culinary librarian Lynne Oliver, who created the helpful source “The Food Timeline,” cobblers were an American invention.
“According to food historians, cobbler … originated in the American West during the second half of the 19th century,” she writes. “Necessity required westward-bound pioneer cooks to adapt traditional oven-baked pie recipes to quick biscuit treats that could be cooked in Dutch ovens.”
I love the flexibility of a cobbler. It’s easy to make (no rolling required!), and it doesn’t have to look perfect. Indeed, the rough look of the dish is part of its charm. The named “cobbler” is purported to have come from this dessert’s resemblance to cobbled streets.
A cobbler also takes less time in the oven than a pie, a welcome characteristic on a warm day.
Perhaps we can re-name June 9 Strawberry-Rhubarb Cobbler Day. Or perhaps this cobbler should be rewarded with a day of its own a little later in June. It’s quite delicious.
Before I leave you, I wanted to give you the details about the concert I mention on the video. Here’s a nice listing about it.
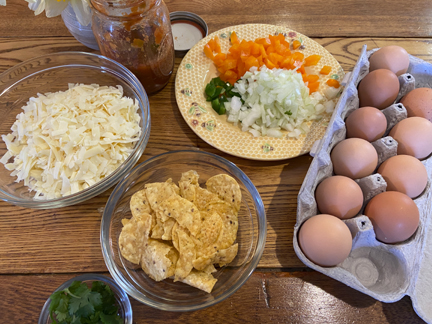
Strawberry-Rhubarb Cobbler
Ingredients:
for the rhubarb base:
1 cup sugar
3 tablespoons cornstarch
3 cups chopped rhubarb
2 cups chopped strawberries
2 tablespoons lemon juice
1 tablespoon butter, diced
for the cobbler crust:
1 cup flour
2 tablespoons sugar
1-1/2 teaspoons baking powder
1/4 teaspoon salt
1/4 cup (1/2 stick) butter
1/4 cup milk
1 egg
1 teaspoon vanilla
for the topping:
2 tablespoons brown sugar
Instructions:
Combine the sugar and the cornstarch for the base in a medium nonreactive (non-aluminum) pot. Stir in the rhubarb, the strawberries, and the lemon juice. Cover this mixture and let it sit for an hour or two to help the fruit juice up.
Preheat the oven to 400 degrees. Butter a 1-1/2-quart casserole dish.
Uncover the rhubarb mixture and bring it to a full boil, stirring frequently. Boil, stirring gently, for 1 minute. Remove the fruit from the heat.
(If you want to make the fruit mixture ahead of time, you may; just let it cool to room temperature and then refrigerate it until you are ready to preheat your oven and make your cobbler.)
Spread the strawberry-rhubarb mixture in the prepared pan. Dot the top with butter.
To make the crust, whisk together the flour, the sugar, the baking powder, and the salt. Cut in the butter, but don’t overdo it. You should still see tiny pieces of butter in the mixture.
Whisk together the milk, the egg, and the vanilla. Add them to the dry ingredients, and mix just until moist. Drop this mixture onto the strawberry-rhubarb combination, and spread it around to cover the fruit. Sprinkle clumps of brown sugar over all.
Bake until lightly browned, 20 to 25 minutes. Serve by itself or with whipped cream or ice cream. (Leftovers are great for breakfast.) Serves 6 to 8.